In order to manage your header settings, go to Theme Options -> Header section, as shown in the image below.
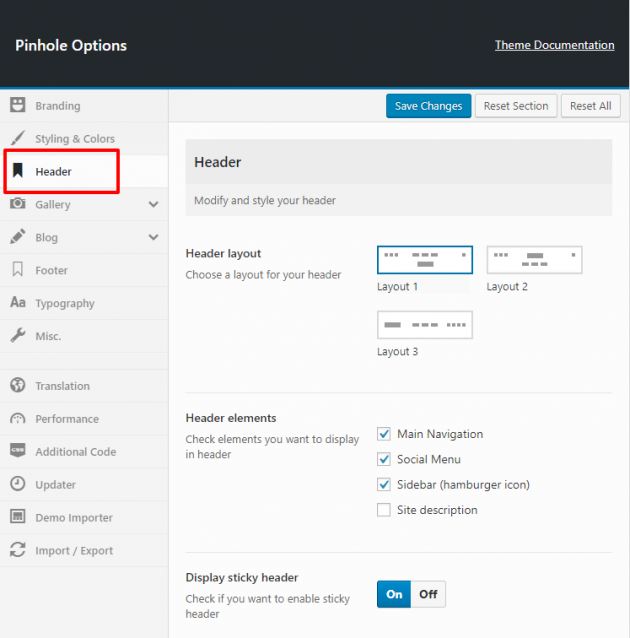
After you select the desired header layout and elements you would like to display, the next step would be to set up your navigation and menus. Please follow the further instructions below.
Menus setup
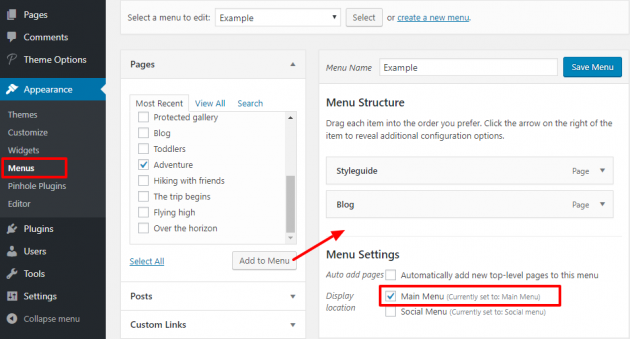
Pinhole uses standard WordPress menu system for navigation. To set up your menus, go to Appearance -> Menus. Please note that some items (i.e. posts) are hidden by default in the screen options so make sure you check it.
You simply need to create your menu and drag and drop items you want to show. After the menu is created, you need to assign this menu to one of the available theme locations.
- Main Menu – this is your main website navigation.
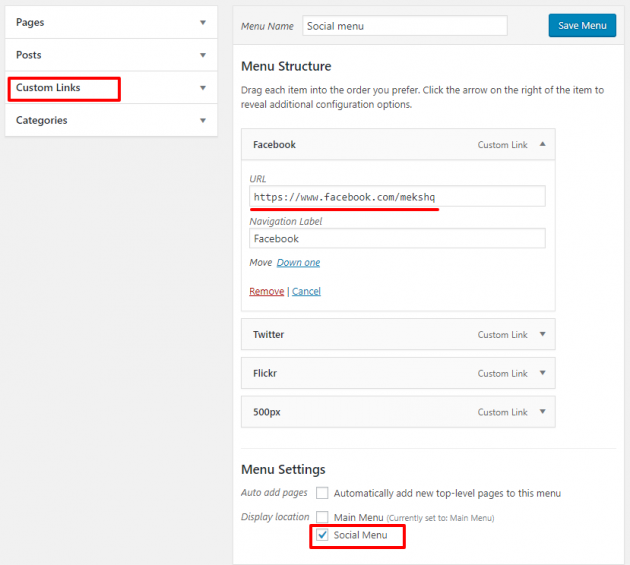
- Social Menu – this is a menu which will display social icons.
Main navigation
Below is an example of a simple menu assigned to Main Menu:
Watch the process in this short video:
Social menu
As shown in the image below, this is a menu where you should put custom links to your social profiles. Note that you just need to specify the link to your social page i.e. http://facebook.com/link-to-your-page and the Facebook icon will be automatically recognized.
Watch the process in this short video:
If you are not familiar with using WordPress menus and its basic setup, there is a great user guide on the official WordPress Codex: http://codex.wordpress.org/WordPress_Menu_User_Guide